
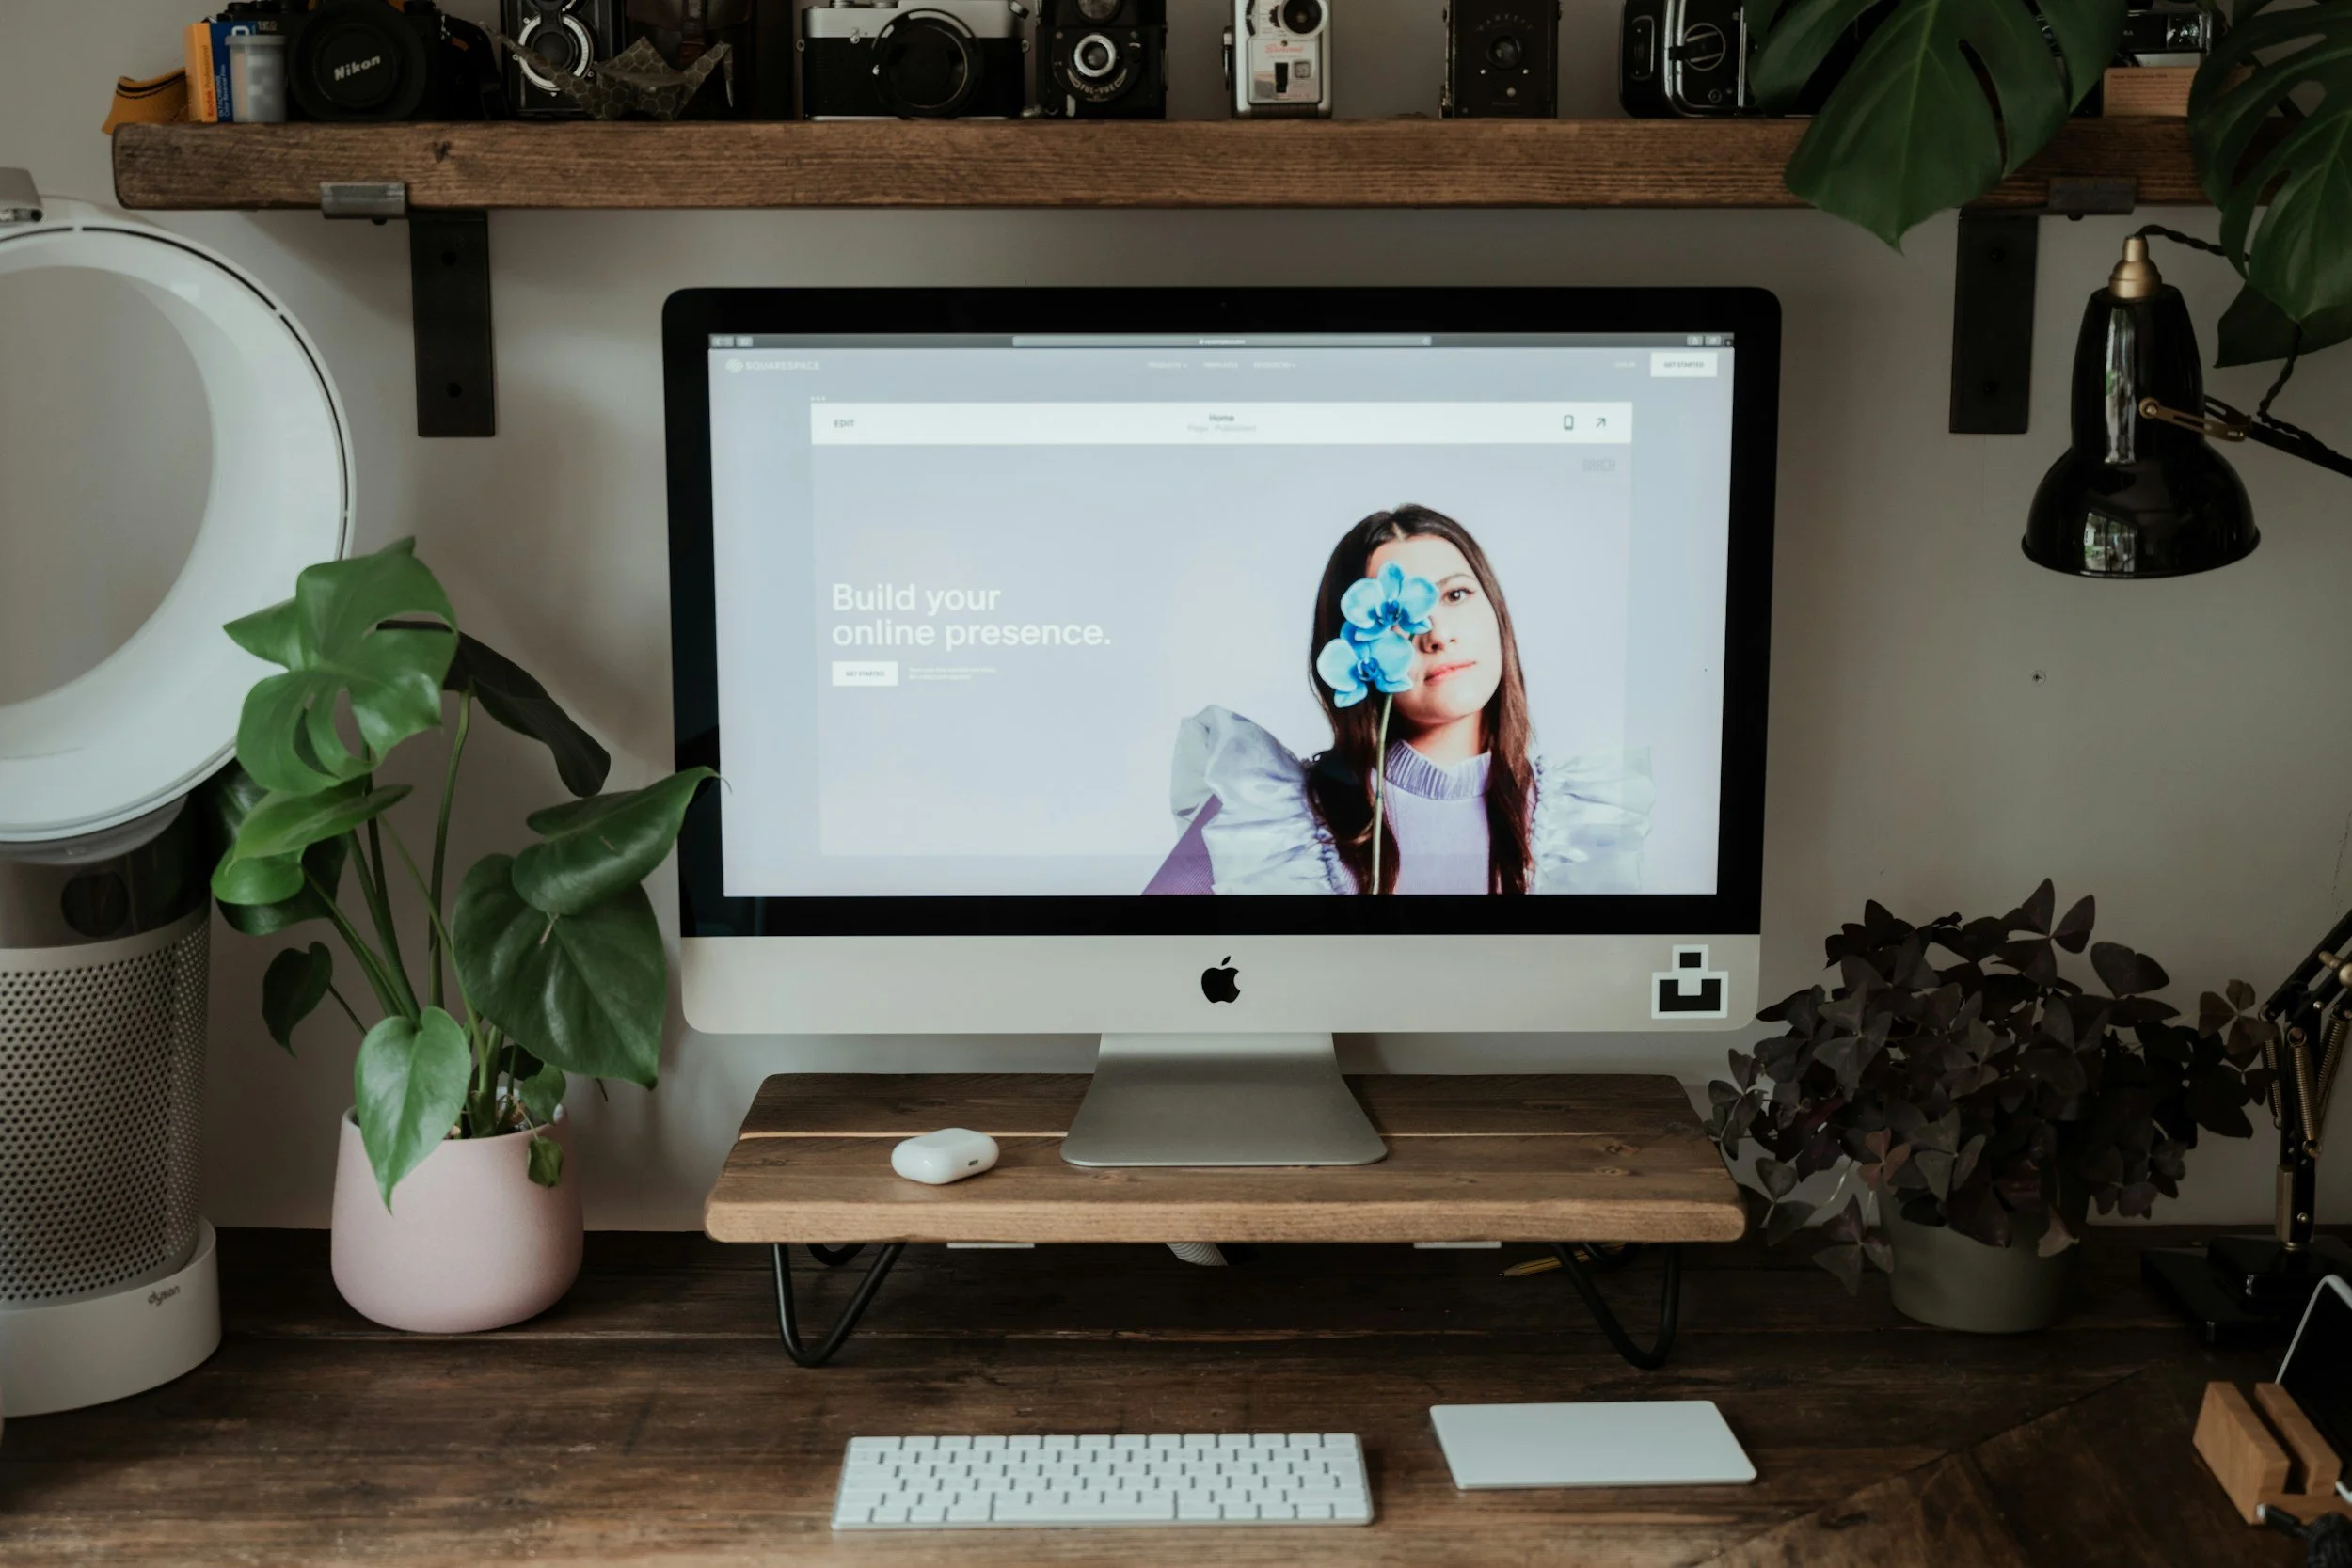
How to Use the Squarespace Asset Library
The Squarespace Asset Library is essentially your site’s central storage hub. Every image or video you upload — whether it’s from your computer, the Squarespace app, or a stock library — ends up here. It keeps your files organized, makes them easy to reuse, and gives you a clear view of your remaining video storage.
If you work with a lot of visuals or want a smoother workflow, understanding how the Asset Library works will save you time and keep your site running cleanly.
What the Squarespace Asset Library Does
Any time you upload an image or video anywhere on your site, Squarespace automatically stores a copy in the Asset Library. This means you never need to re‑upload the same file twice. You can also upload files directly into the library if you want to prep assets before building pages.
The Squarespace asset library also tracks your video storage usage, which is helpful if you rely on background videos, course content, or video blocks.

How to Add Content to the Asset Library
You can upload files from your computer or through the Squarespace mobile app.
Uploading from your computer
Open the Assets panel.
Drag and drop files from your computer.
Or, in the top-right corner, click Upload, then select one or more image or video files to upload.
You can track the progress of the upload in the bottom-right corner.
After the upload is complete, a green checkmark will appear next to the number of files uploaded.
Uploading from the Squarespace app
In the Home tab, tap +, then tap Upload assets to library. Tap all images you want to import, then tap Import. After the import is complete, tap I'm done, or tap Add more to import more images. When you're done, you'll return to the Home tab.
You can reuse these imported images when editing your site on a computer. Videos, however, cannot be uploaded to the Asset Library through the app.
If you upload the same file multiple times, Squarespace treats each upload as a separate asset. To avoid clutter, delete duplicates when you see them in the Squarespace asset library.
Reusing Images and Videos
Whenever you add an image or video block, you’ll see an option to choose “Select from library” or “Search Images.” This opens the My Library tab, which includes:
Images and videos you’ve uploaded Free and licensed stock images you’ve used Any assets saved anywhere on your site
You can reuse these assets in banners, galleries, email campaigns, product images, logos, background images, and more. It’s one of the easiest ways to keep your site visually consistent.
Viewing File Details
If you want to check the size, dimensions, or type of a file, you can open its details.
Hover over the image or video, click ..., then click File Details.
You’ll see information like filename, file type, dimensions, duration, size, and the date it was added.
Assets only appear in the library for the site they were uploaded to. They can’t be transferred between Squarespace sites. Edited images are saved as new copies, so you’ll see both versions.

Renaming Files
Renaming files helps keep your library organized and improves accessibility, since filenames often act as alt text across your site.
Here are the original instructions:
Open the Assets panel. Hover over the image or video and click .... Click Rename and enter the new filename. Click Save.
This updates the filename everywhere the asset is used.
Organizing Your Asset Library with Folders
Folders help you keep large libraries manageable. They appear at the top of your Asset Library and can be sorted alphabetically or by recent changes.
Folders also show up in the My Library tab when adding images or videos, making it easier to find what you need.
Creating a folder
Open the Assets panel. In the top-right corner, click Add Folder. Enter a name for your folder between one and 1024 characters. Click Create.
Adding assets to a folder
In the Assets panel, select the asset by checking the box in the top-left corner of an image or video. Click the folder icon at the bottom of the screen. Select the folder to move the assets to. Click Move Here.
You can also upload files directly into a folder by opening it and using drag‑and‑drop or the Upload Files button.
Renaming a folder
In the Assets panel, click … in the top-right corner of a folder, then click Rename. Enter a name for your folder between one and 1024 characters. Click Save.
Moving assets between folders
In the Assets panel, double-click the folder the assets are currently in. Select the asset by checking the box in the top-left corner of an image or video. Click the folder icon that appears at the bottom of the screen. Select the folder you'd like to move the assets to. Click Move Here.
Creating subfolders
You can nest folders up to 40 levels deep, with a maximum of 300 subfolders per folder.
In the Assets panel, click … in the top-right corner of a folder and select Move To. Select the folder you want to nest the folder in. Click Move Here.
Or create a subfolder directly:
In the Assets panel, double-click a folder to open it. In the top-right corner, click Add Folder. Enter a name for your folder between one and 1024 characters. Click Create.
Deleting Assets
Deleting a file from the Squarespace Asset Library removes it from your entire site. If the file was being used on a page, you may see a broken image icon until you remove the block from the page.
Here are the original instructions:
Open the Assets panel and find your image, video, or folder. Check the box for each image, video, or folder you'd like to delete. Click the trash can icon, then click Delete to confirm the deletion of your content.
Deleted items stay in the trash for 30 days. Videos moved to the trash no longer count toward your storage limit.
Search engines may still show deleted images temporarily if they were previously indexed.
Restoring Deleted Assets
If you deleted something by accident, you can restore it within 30 days.
Open the Asset library and click Trash. Select the item to restore by checking the box next to the image, video, or folder. Click Restore.
Restored items return to their original location. If that location no longer exists, they move to the Files area.
If restoring a video would exceed your storage limit, Squarespace will prompt you to free up space or upgrade your plan.
Emptying the Trash
If you want to permanently delete items before the 30‑day window, you can empty the trash.
Open the Assets panel and click Trash. Click Empty Trash. Click Empty Trash in the confirmation message that appears.
This action cannot be undone.
Downloading Assets
You can download individual images from the Asset Library.
Open the Assets panel. Hover over the image you want to download, click the three dots, then click File Details. After the image preview loads, right-click the image and save it to your device.
Videos cannot be downloaded, so always keep a backup of your original files.
Unsplash images can be downloaded and reused freely. Getty Images purchased through Squarespace are licensed only for use on your site unless you purchase additional licensing.
Final Thoughts
The Squarespace Asset Library is more than a storage space. It’s a workflow tool that helps you stay organized, reuse content efficiently, and keep your site running smoothly. Whether you’re managing a large gallery, building a product catalog, or simply keeping your brand visuals consistent, knowing how to use the Asset Library properly makes a noticeable difference.